How to clean sensor dust
It’s important to keep your camera sensor dust free to avoid spots on your photos, but it can feel daunting to actually clean it. With the Q+ Camera Sensor Cleaning kits you have everything you need to clean it safely and properly.
What is sensor dust?
When changing your lens dust can get into the camera body and eventually can make it’s way onto the sensor. Sensor dust will appear in every photo as tiny blurry spots, always in the same place across multiple pictures.
How to check sensor for dust
To find how dusty your sensor is, take a picture of an evenly lit white or plain wall at f/16~f/22 or smaller at ISO 100. Keep your background out of focus and take a couple of photos moving the camera slightly each time to get a different part of the wall. Take the pictures to your computer and compare them; any small spots consistently located represents dust on the sensor that should be cleaned! In software like Adobe Lightroom you can use the ‘visualize spots’ feature to help check for spots.

How to remove the sensor dust
Before you start -
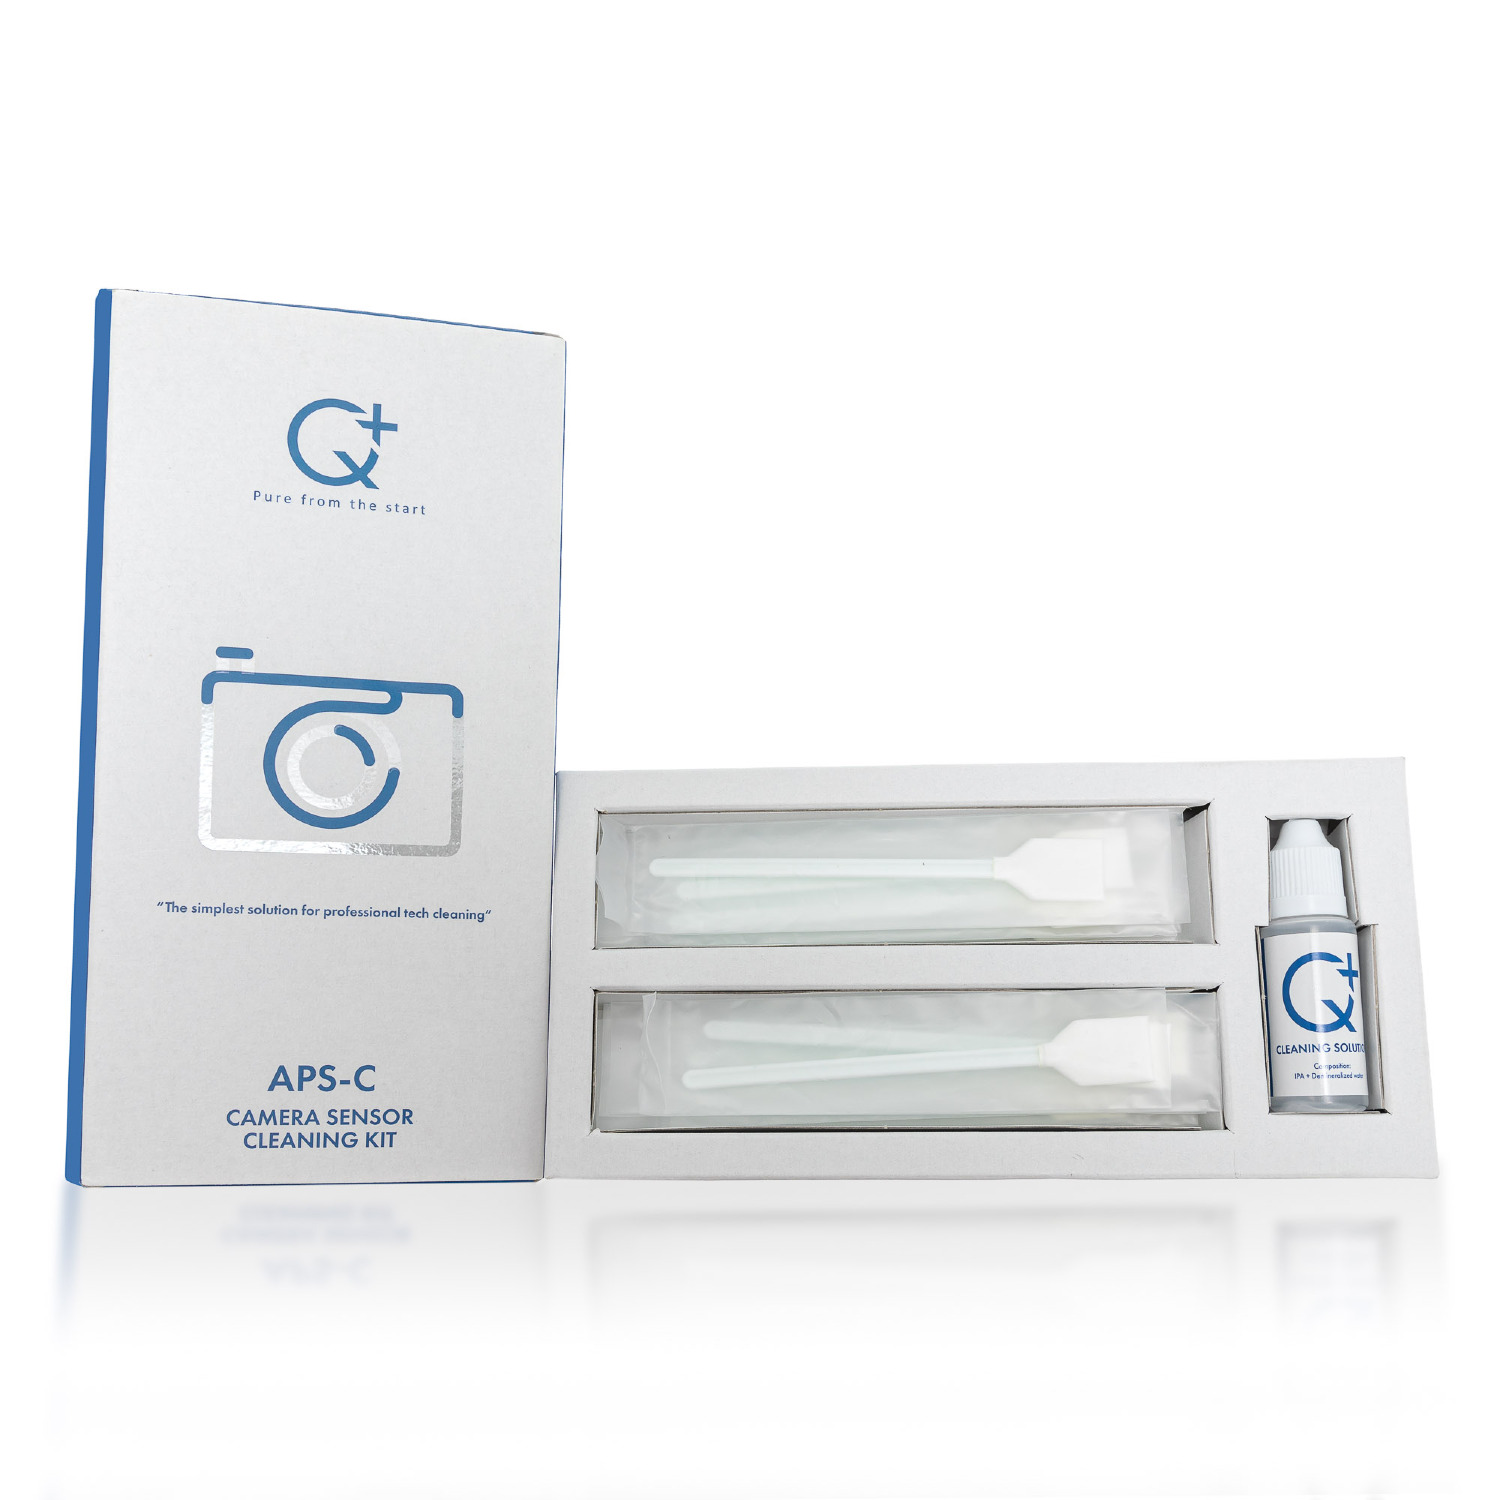
- Ensure you have the correct size kit for your camera. We have an APS-C Kit and a Full Frame kit each sized for different sensors. Do not use the wrong size swab to avoid damaging your sensor.
- In your camera menu look for the sensor cleaning option. This will lockup the mirror and open the shutter so you can access the sensor to clean it. Consult your manual if you can’t find it.
- Find a clean, dust free environment with decent lighting to work in. Avoid interruptions and close any windows to avoid unnecessary airflow.
- Use a clean study table to work on, or attach the camera to a tripod to avoid knocks or jolts.

Select the sensor cleaning option on your camera
Step By Step Sensor cleaning tutorial
(For Q+ sensor cleaning kits)
-
Open the swab packet carefully from the handle end but do not remove the swab. You may also wish to open the Q+ Liquid Cleaning Solution and rest the lid gently on top.
-
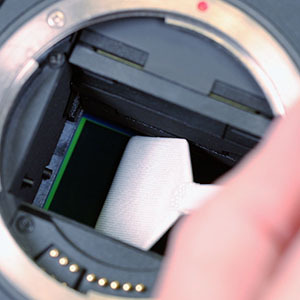
Remove the lens from the camera and activate your camera's 'sensor cleaning setting' to expose the sensor.
-
Remove the swab without touching the microfiber end and add 1-2 drops of cleaning fluid on one side of the swab. Do not use any more then 2 drops.
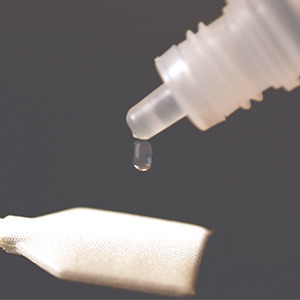
Apply two drops of Q+ sensor cleaning fluid to a fresh swab
-
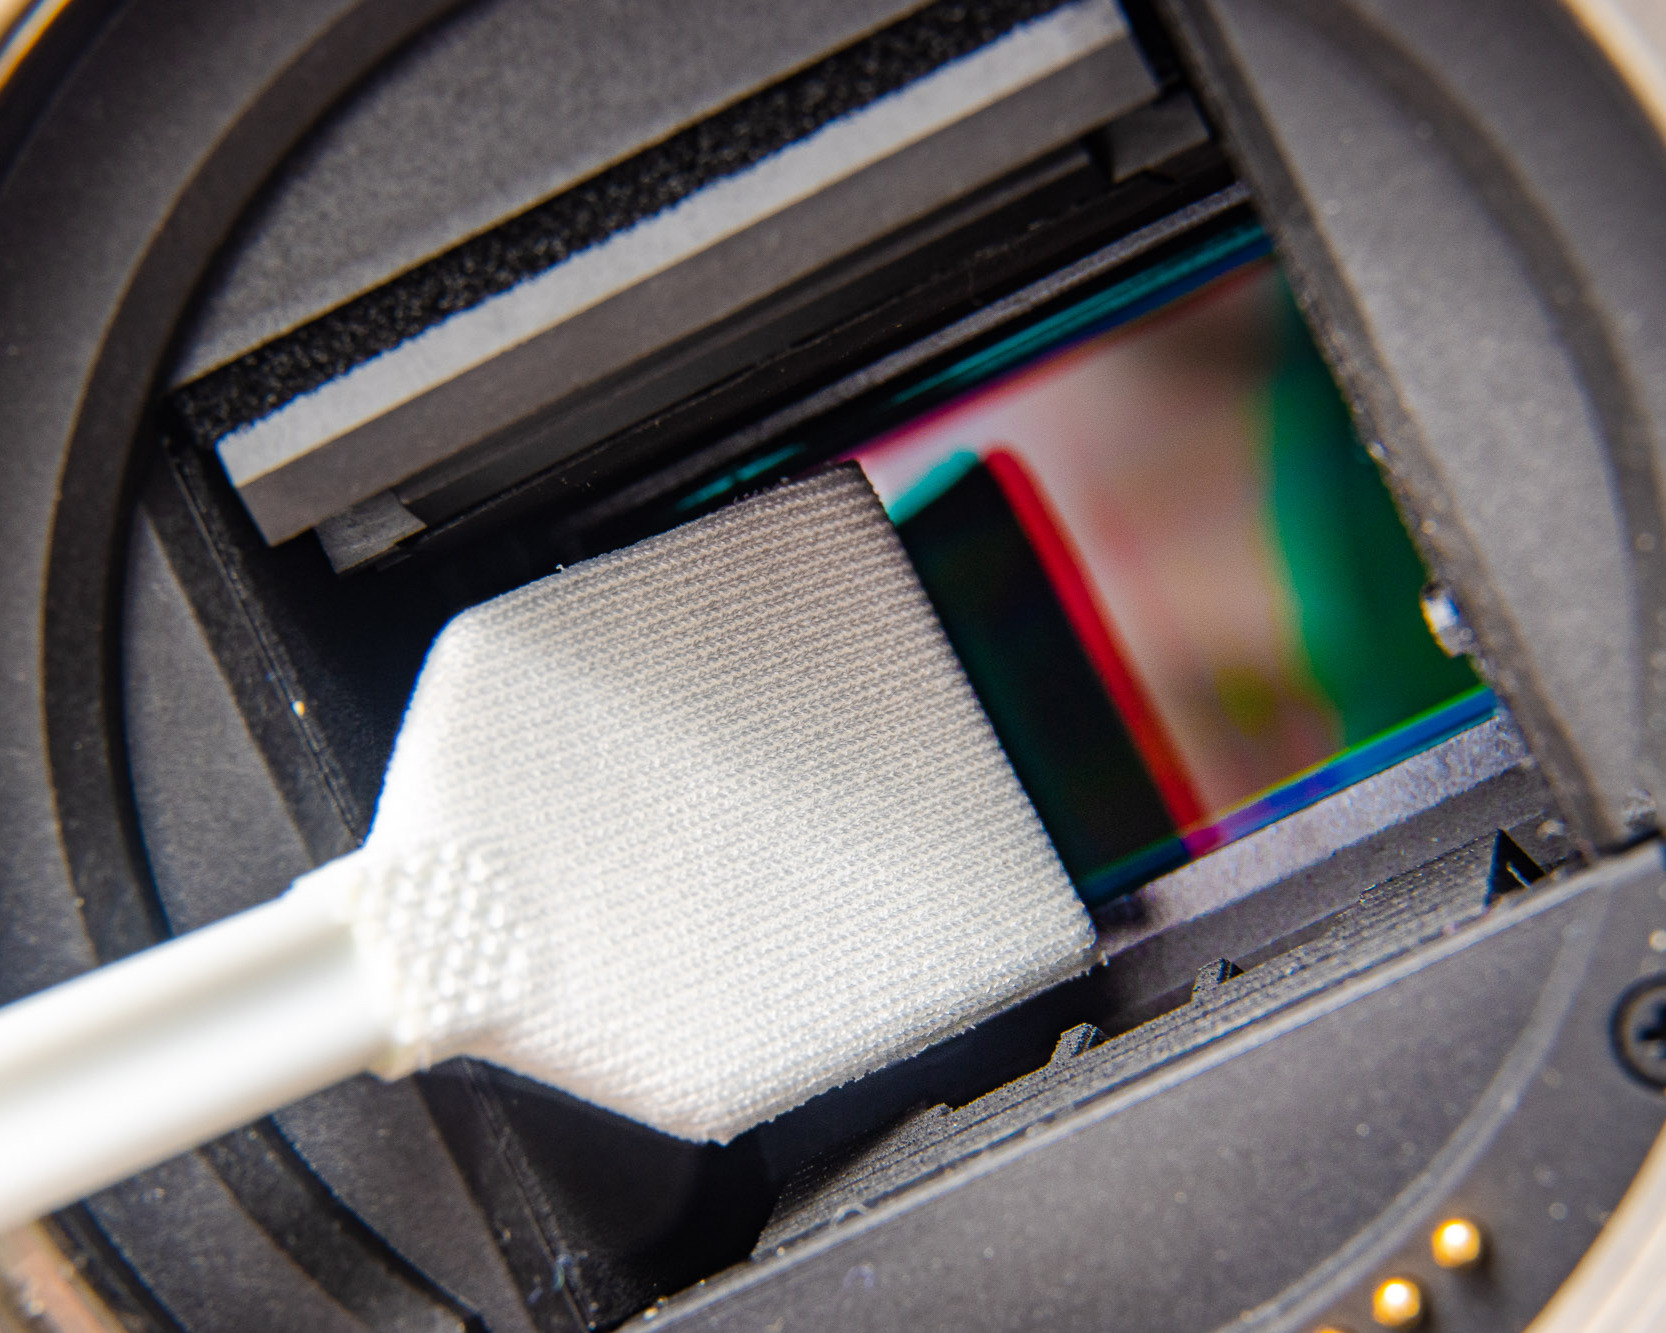
Place the wet side of the swab on one edge of the sensor and wipe it with a moderate pressure to the other side.
-
Turn the swab over to the dry side and repeat the same motion in the same direction.
-
Discard this swab, exit sensor cleaning mode and replace the lens. Check for dust again and repeat the procedure if necessary.
Important Notes
- Do not let anything touch the end of the swab before use. The swab’s microfiber surface is designed to collect dust so you may damage your sensor introducing new dust to its surface. Do not reuse swabs for the same reason. Discard the swab after each swipe and use a fresh swab if required.
- Do not use more then 2 drops of cleaning solution. Over-saturation can leave streaks on the sensor and mean the liquid takes longer to dry.
Wipe the sensor with even pressure